
Hey guys! So, this past weekend I was looking for some doll stuff so I could maybe find inspiration for a post, when I found some old doll sized folders that I had made a long time ago. The wheels in my brain started churning, and since it's back to school season, I thought, "Why not make these folders into a DIY post for back to school?" I'm sure any doll would love to have pretty customized folders to put all their homework into. So I gathered up a whole bunch of stuff once I realized it would never do to take the pictures inside because of the horrible lighting and went outside to take the pictures for this post you are reading right now! So these folders aren't just any old folders, no, they're chalkboard folders. They have chalkboard on the front so your doll can doodle in class while the teacher talks about metamorphosis. hehe, no, then she'll get in trouble ;) Anyways, I might do a couple more back-to-school posts, so if you like this post, I just may make a few more! (and even if you don't I probably still will, so....) So I hope you enjoy this post!


What you will need:
Scrapbook paper
Scissors
Glue
Chalkboard paint (spray can or out of the tube) (You can get it at Walmart or Target)
Card stock
Little pieces of foam or little foam stickers
Step 1: Take your card stock and paint it with chalkboard paint.
Step 2: Cut a fairly large piece of your scrapbook paper. I'm estimating mine was around 6 1/2" wide and 3 1/2" high.
Step 3: Fold it in half lengthwise.
Step 4: You can trim a little, but not too much.
Step 5: Flip it over and pull up around half of the paper.
It should look something like this.
Step 6: The I cut a slant on either side of the flap of paper that I pulled up. I thought it gave the folder a more professional look.
Step 7: Then you're going to take the sides of the folder and fold them in twice. If you know how to sew, then it's almost like hemming the sides.
Step 8: Then glue the sides down.
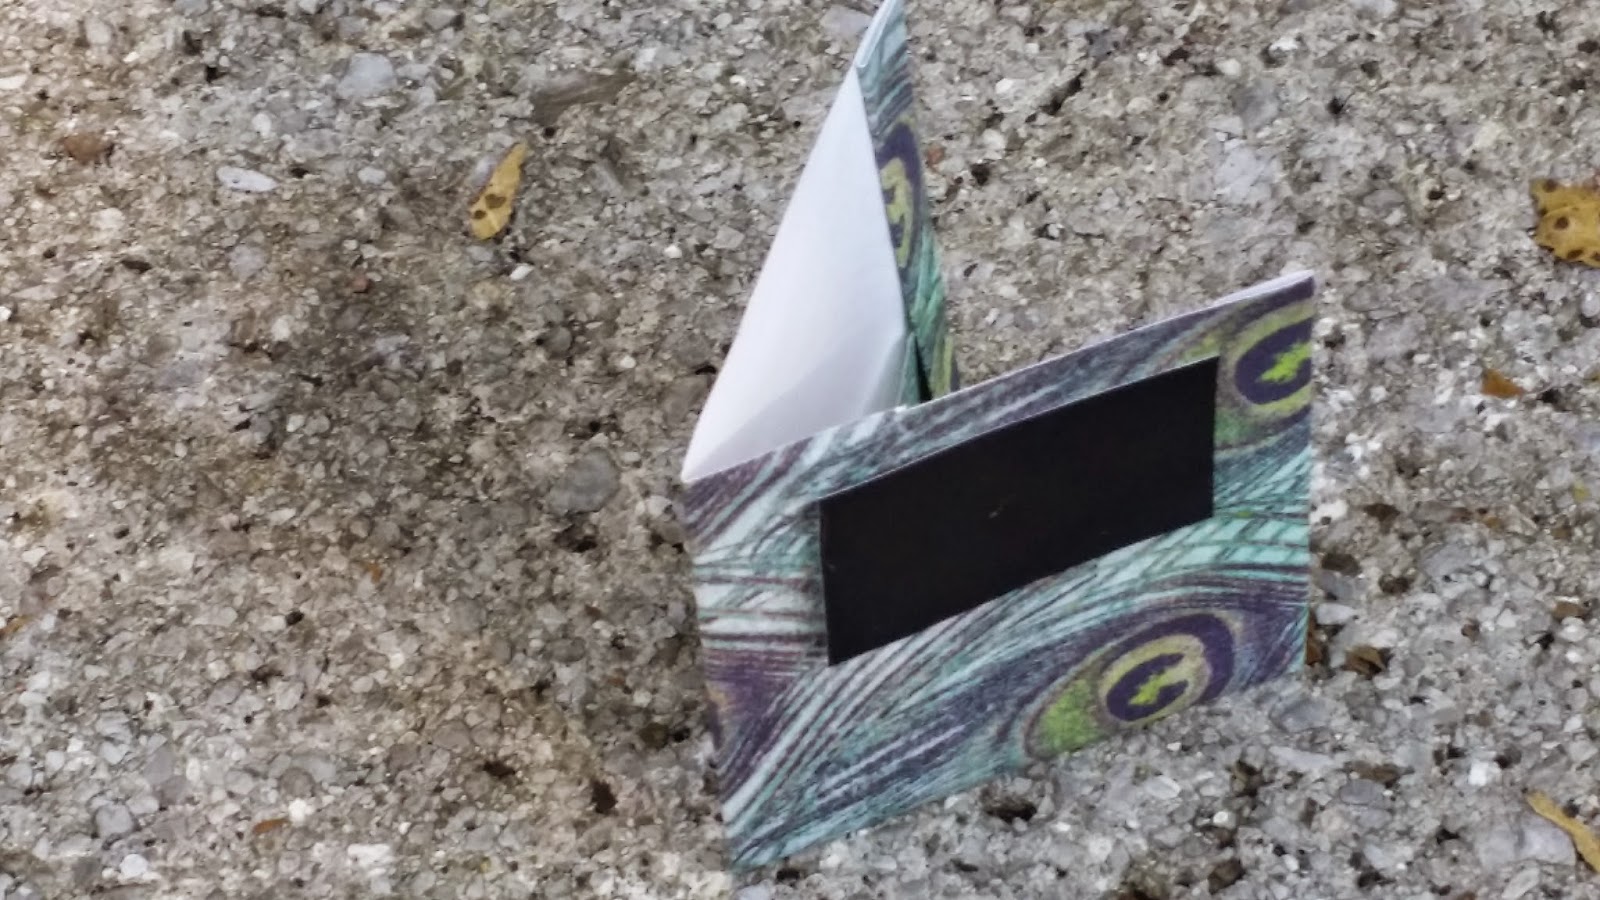
Now you have your basic folder. You don't have to add the chalkboard to the front, it's just optional.
Step 9: Now take your card stock. The paint should have dried by now. Then cut a little square the size you want it to be on the front of the folder.
And voila! You have it!
But if you want to make the chalkboard stand out a little, take your little foam sticker or cut a small piece of foam and apply some glue on the back and get ready to use it!
Take the sticker backing off if you have a foam sticker.
Stick it to the front of your folder where you want the chalkboard to go, then apply a dot of glue on top of it.
The wah la! You have a very cute folder!
"So, Esther, are you excited about all of your folders?"
"You betcha!"
You can actually write on the chalkboard pieces with real chalk!
Thanks for reading and God bless <3 nbsp="" p="">
Autumn
Those are great! Thank you for the instructions.
ReplyDeleteYou're welcome!
DeleteSuper cute diy! I'll have to try this! :)
ReplyDelete~ Mint
You definitely should :)
DeleteThose are so cute!
ReplyDeleteThanks!
Delete